Showing posts with label Detail. Show all posts

Tuesday, June 3, 2014

Boarding It Up!

Once the baseboards and storage were in, it was time to take on the lower portion of the walls. As I said here, we painted just the top portion of the wall gray because board and batten was planned for the lower half.
 
We took 4.25" wide boards and nailed them in horizontally. To determine the height of the placement, we just determined what looked right to us… but it also helped to use the light switch location as a guide- we just put it in an inch above it.


After the horizontals were nailed in, we took 3" wide boards and installed them about every 15" inches. Some areas aren't spaced exactly 15" apart because they either needed to be closer or further apart to make it all look visually balanced with its surroundings. A lot of it was "eyed" and it ended up working out great.


After all of the boards were nailed in- I spackled and Nathan caulked. Once the caulk was dry we smacked on a few coats of "Clean White" paint by Valspar and it was done! Board and batten is one of the quickest projects we've done.


The look of the board and batten really made such a big difference in the bathroom. When my friend was visiting last weekend, she said it helped make the room look even taller than what it is and I would have to agree with her.
 
 
This was one of those steps that could have easily been skipped, but I think the minimal time and effort was beyond worth it… probably my 2nd favorite thing about the bathroom! 
 
You may have also noticed the mirror in some of the pictures above. We actually used the same mirror that came from the old bathroom. It was probably the ONLY THING we saved. The mirror was in perfectly good shape. Nathan just used a glass cutter to cut it down to the size we needed.


We also ran electrical up the new vanity wall for some new outlets and lighting. 


Staying budget friendly, I found these Martha Stewart sconces at Home Depot. I like the look of individual sconces instead of one giant light fixture. Had we had a bit more room, I probably would have put them more on the side of the mirror, but they work well above it.
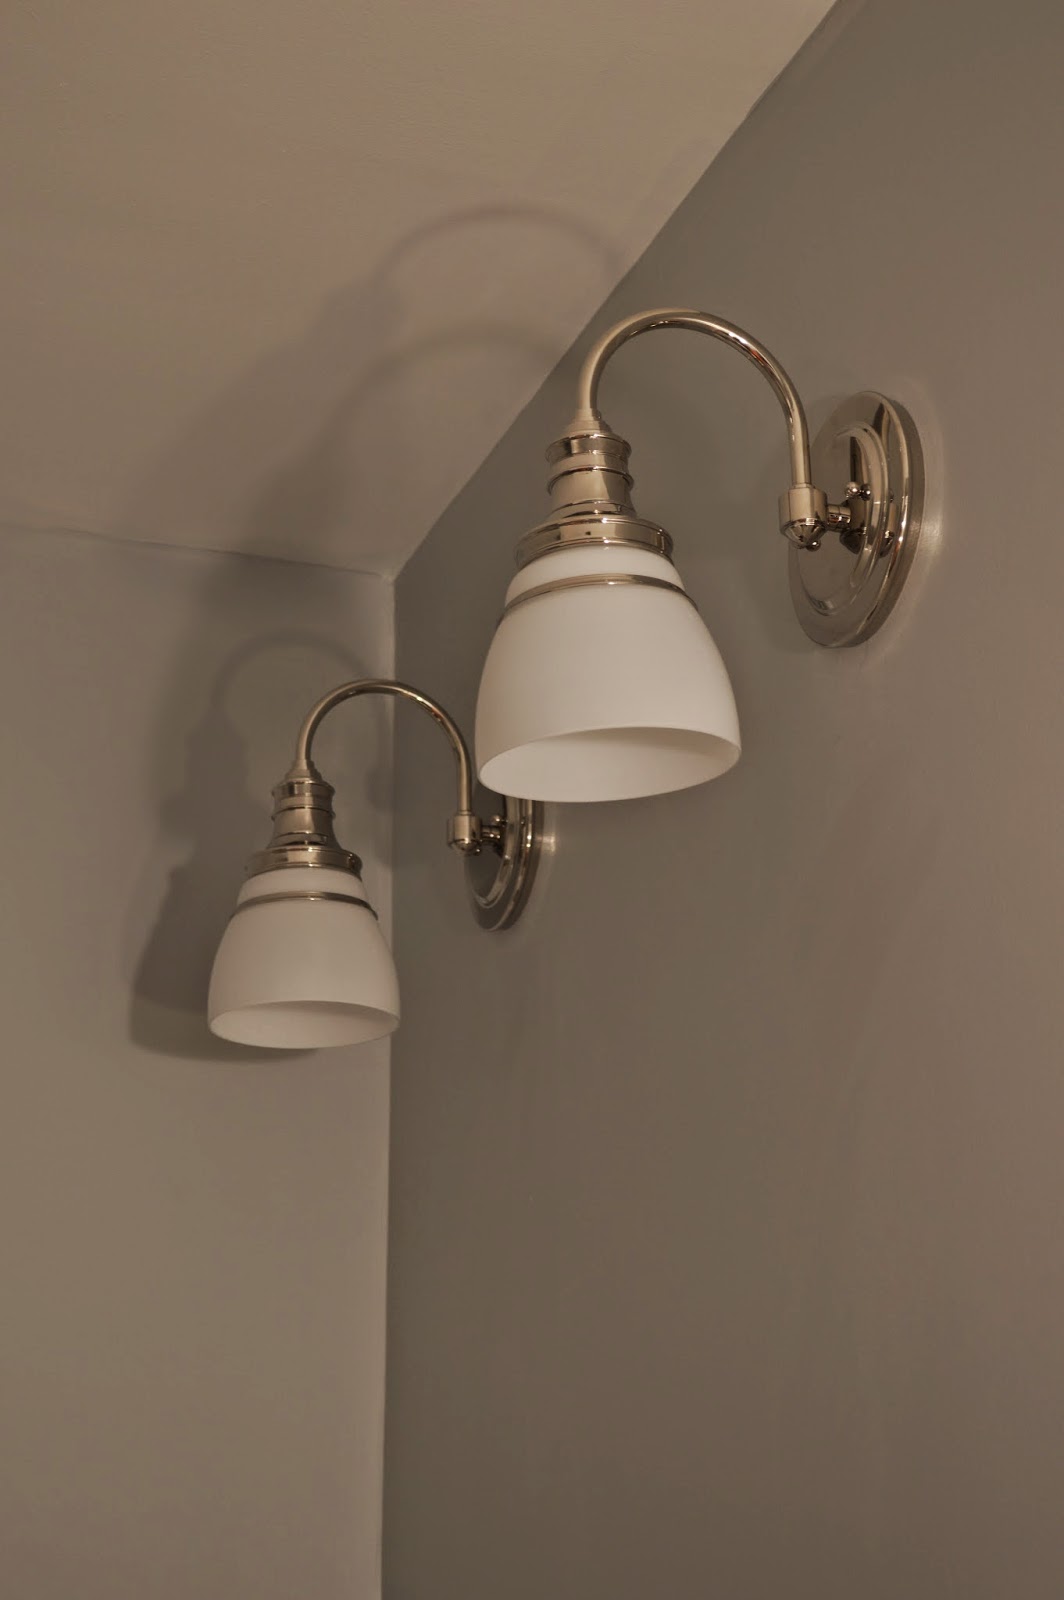


Nathan then installed some mounting clips for the mirror and hung that bad boy up. Looked good as new- even though it was reused!


We framed out the mirror before the board and batten. I believe the boards were either 4.5" or 5" wide. The below picture shows a happy Nathan seeing the light at the end of the tunnel.


We actually ended up adding a bit more trim to the mirror, but below is the basic frame-out before any spackling, caulking, or painting. 
 
 
Here's a before and after of the new vanity wall. After picture is pretty dark I know- but I had no time to edit these :)   
 
Hope you're liking the progress. End is in sight!
 
-Tricia
 

Monday, May 19, 2014

My New Bathroom Obsession: The Floor Tile

The final task Nathan's dad helped with (before he was released from our 2 week hold) was the tiled floor. You can check out the tub tile here if you're interested!


You can see the old floor tile in the picture below. It was probably the least awful thing about the old bathroom- but it still had to go in order for us to renovate the room.


The floor tile came from Lowes (although Home Depot has pretty much the same thing at the same price). The octagon tile came in 12 x 12 sheets, so it went pretty quickly once they got started.


I LOVE this tile and it is one of Lowes' most inexpensive options. It's a classic and definitely is a throwback to the 1920s when this house was built- which was my goal when starting the bathroom redo- I didn't want anything too modern.


Another token shot of Nathan on the blog. 


The sheets of tile were priceless. Can't imagine doing any of this one-by-one!


All the tile is down and ready.


And then Nathan grouted.... but I have no pictures to prove it because I think I went to bed. God bless him.
 
Here is my new obsession- our beautiful floor!


We ended up going with the "Warm Gray" grout and I think it's perfect. The gray contrasting with the white tile really shows off and compliments the design AND I don't have to worry about dirt getting in the grout lines. Win/Win!


We also used a mixed in sealer for this and it seems to be holding up to dust and dirt pretty well. We've had a lot of dirt with housework lately so it's already had a lot of practice.

 
Both tile jobs were probably the more tedious tasks for the bathroom… but well worth it. Sometimes I just want to lay on the floor and take a nap because it's so glorious… or maybe I'm just that tired. Who knows.
 
 
Will be back soon with the next update!

-Tricia
 

Thursday, May 15, 2014

The Tub Gets a Tiling Job


Finally back with a bathroom progress post…. (You can check out the previous posts here and here) We've been taking a nice long break this week from anything house related, but I figured getting a post in is the least I can do.
 
Soooooo secret's out- As of this past Sunday (Mother's Day) the bath is done! OK- we still have one or two finishing touches, but I'm considering it complete and it feels so good! That being said, it was still such a monster of a job that I refuse to just show you the finished product without the steps that it took to get there. (And I've been too lazy/tired/preggo to take any of the final pictures yet so a big reveal post is not really possible at the moment….)
 
This post is all about the tub tile. Nathan's dad is pretty good when it comes to this stuff. His parents redid their first floor bath last year and it looks awesome so having him here for the tile component was HUGE. The tile was also one of the last things he helped work on before escaping his 2 week imprisonment with us, so we were lucky that we were able to fit it in.
 
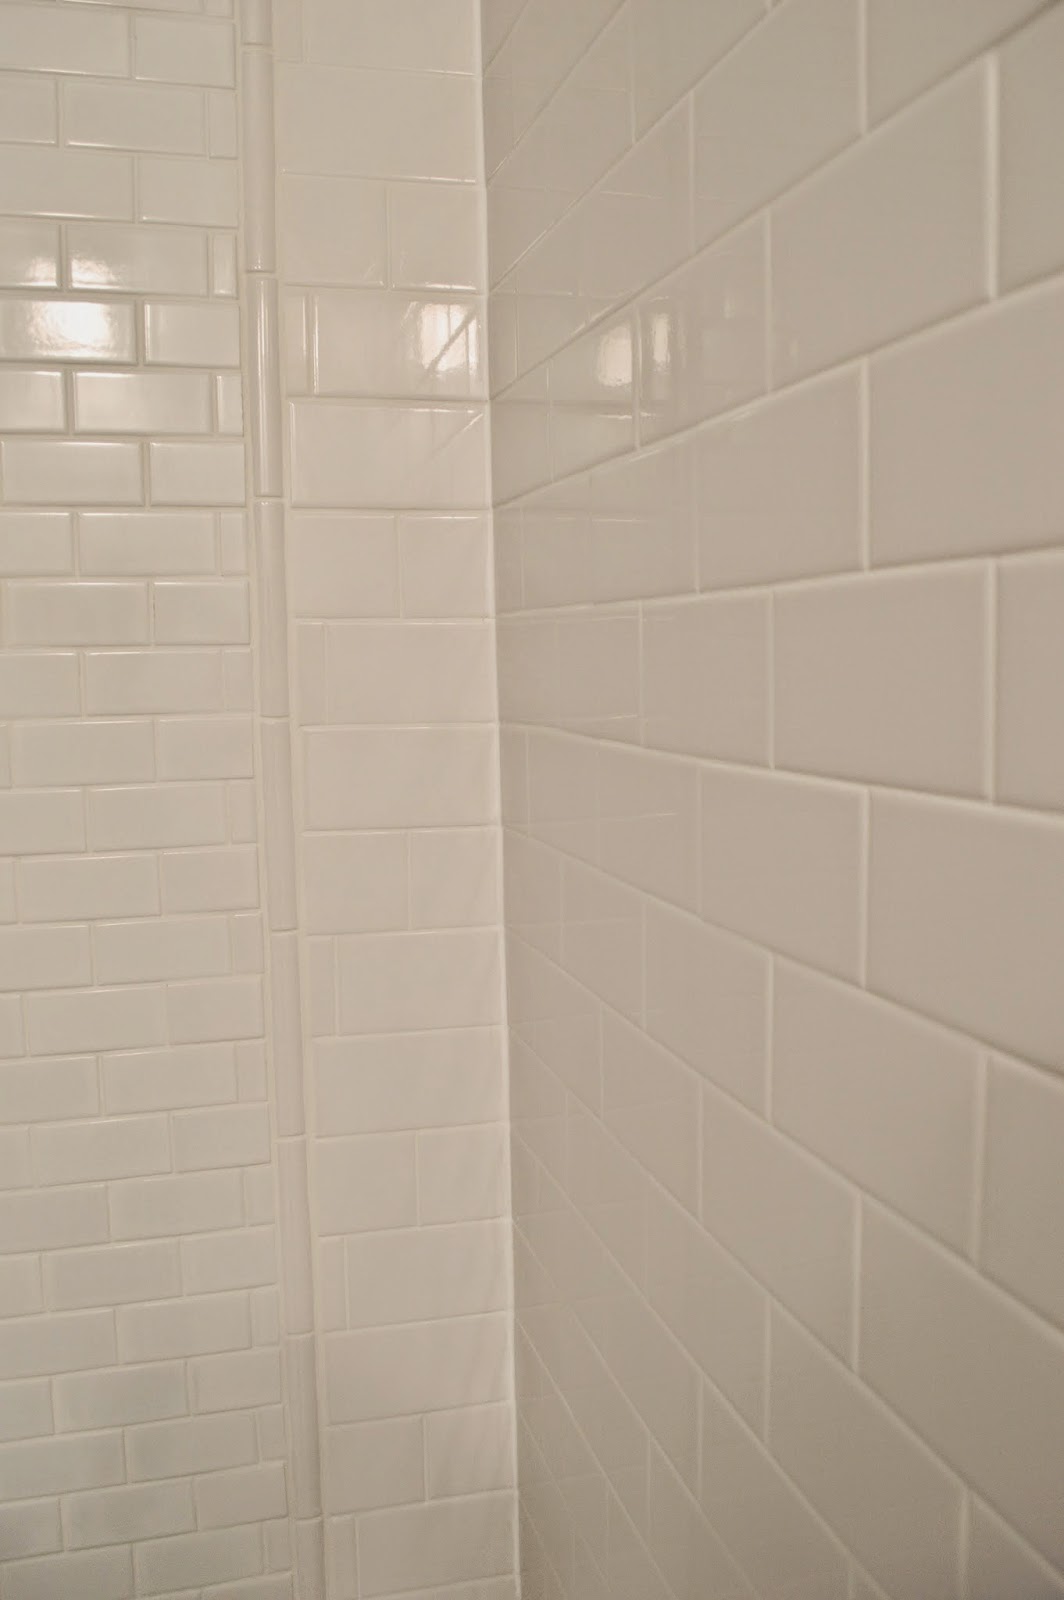
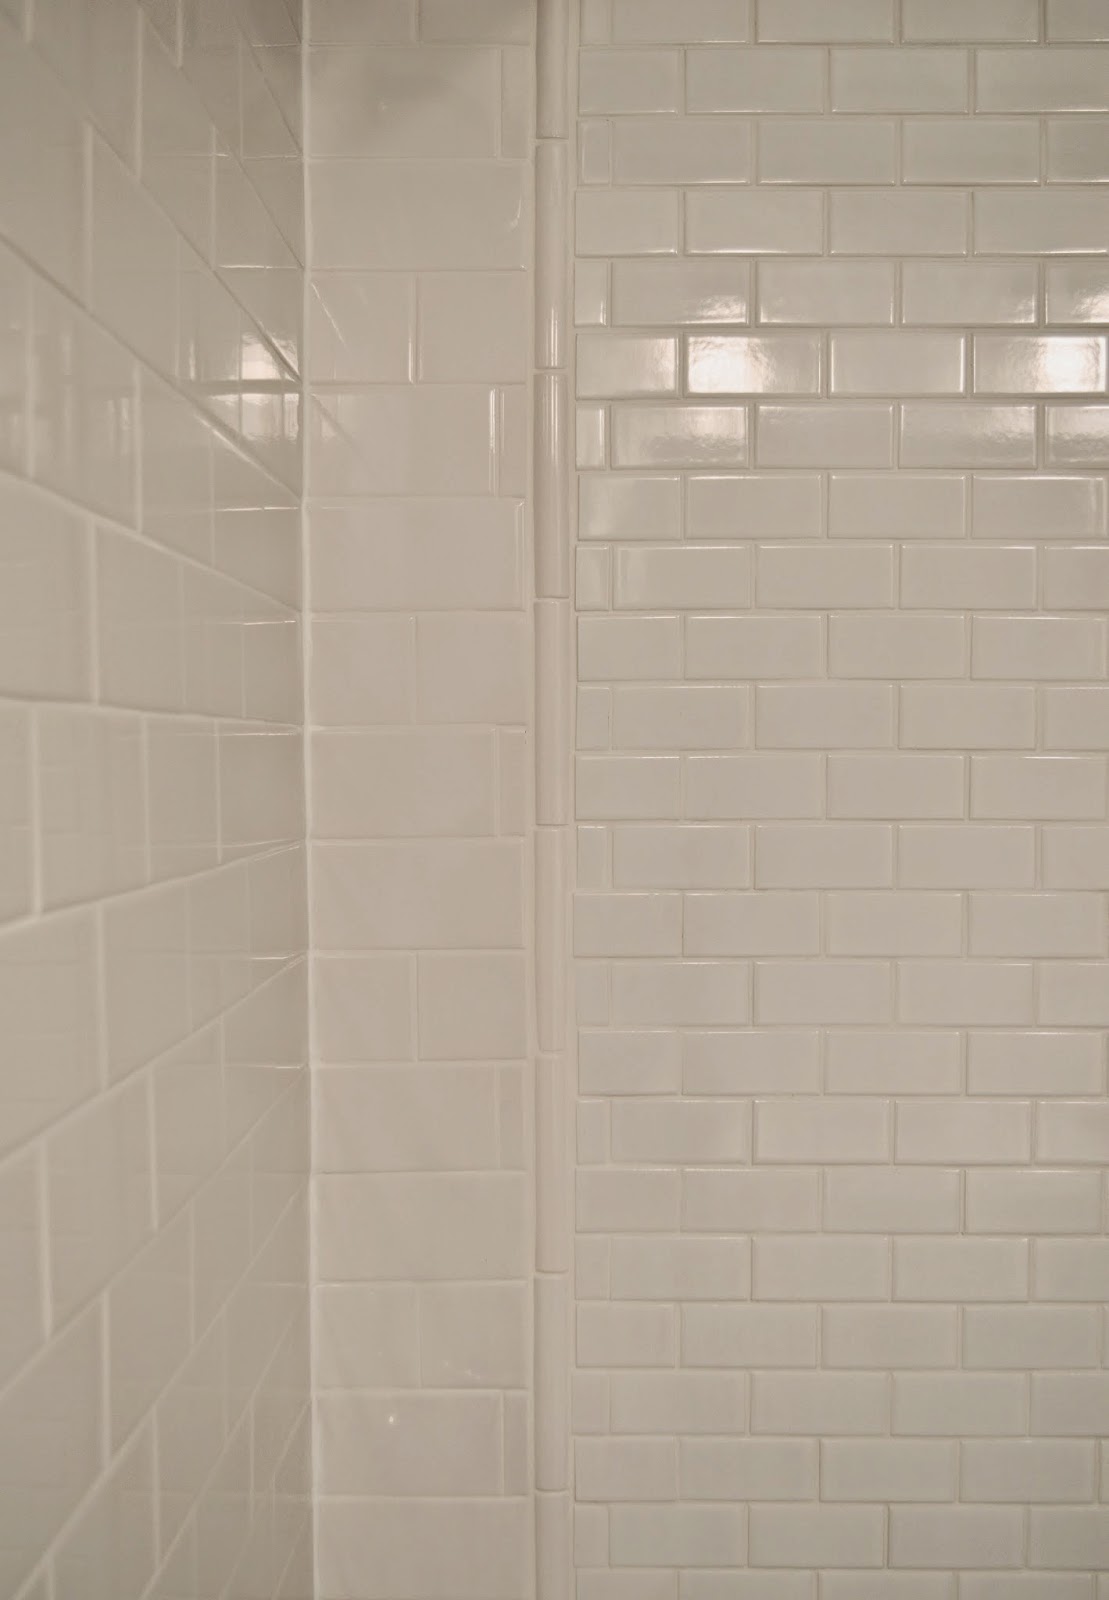
The first tiling job they took on was the tub surround. My goal was to keep the look of the bathroom classic so we went with white subway tile. In my opinion, you can't go wrong with that choice and it can be pretty affordable, so it was a no brainer.
 
Before any tile was placed, we applied a waterproof barrier... that's the dark teal stuff on the wall in the pic below... 


Once dried, it was time to lay the tile.


Now, it wouldn't be one of my projects without making it a bit more difficult. Instead of just slapping the tile on in the typical layout, I wanted to add a little bit of interest. We decided to frame out an inset of the long wall and lay a smaller scaled tile within the tiled frame. (By the way- there really isn't a synonym for tile so I'll be using that word a lot here). I originally wanted the center tile to be even smaller scaled than what we chose, but the price of the smaller tile we looked into was just unreasonable and not worth it… so this was going to have to do. 
 
Here's a lovely iPhone picture showing the framed-in area pre tile.
 
 
And here is the tile all set in... but before grout.


Once the tile was in, it was grouting time (which I think happened during Derby weekend- it's all a blur!). I finally was able to get my hands dirty and help Nathan with this portion. We ended up choosing a white grout and mixed in a sealer which Nathan's dad suggested…. it's awesome because you don't have to go back and apply sealer to every grout line. Time saver for sure!
 
Here's the big guy grouting away. He loves when I put pictures of him up on da blog. I made sure to show three of him for extra measure.


What a difference grout makes...


Once the grout was dry, we wiped it clean and then caulked the corners and edges.... and to top it all off we added the shower head, faucet, and hardware. It definitely finished the look.
 
I think I'm in LOVE....


We actually cheated on Lowes and purchased the tub tile from Home Depot. The reason? The tile we found at Lowes wasn't as white as the floor tile we already had picked out. The Home Depot option ended up being a better color match so we went with that. Blasphemy I know.


It ended up turning out great and is definitely the look that I was going for. The detail is subtle, but I think it gives it a nice effect and makes it look like we spent a little more time and thought into how our tub was going to look (which we did- to Nathan's dismay).


And that's the tub tile for ya- turned out pretty great and I've been happily enjoying my bubble baths in a nice, fresh, clean bathtub. It's a far cry from showering in this thing for the past 2 years....


Next up is floor tile- probably my favorite part of the entire bathroom!
 
I'm going to take a bath now. Later.
 
-Tricia