
The bathroom is finished- it took exactly 4 WEEKS so I think we did pretty good... oh and Nathan started a new job in there at some point- he's a trooper! I finally had time this weekend to take some After photos... or else I would have posted this much sooner! Here she is in all of her clean and fresh glory... aka EXACTLY what I was wanting!
(You can check out the previous bathroom posts here- Demo, New Layout & Drywall, Tub & Tile, Floor Tile, Paint & Storage, Board and Batten, Lighting & Mirror )

And here's a ton of Before and Afters- the best part about makeovers!


Just a reminder of how the layout was before....

And here is the finished layout...

One of the best parts of the bathroom ended up being the storage behind the toilet. We are still planning on installing doors to cover the top two shelves. It looks pretty now, but I'm really needing some closed storage for my random colored towels and odds and ends. The bottom shelf will remain open.
Until we get the doors, I'm enjoying the open shelving and its prettiness.


The board and batten is one of my favorite parts of the bathroom- and one of the easiest to do.

The vanity was a Craigslist buy. We thought it was originally 'white' but when we put the 'very white' vanity top on, we realized it was more of an ivory color and was not working at all! All different kinds of whites and ivories are a bad combo. I took on the vanity project and ended up painting the vanity the same color as the walls- Valspar "Bay Waves". (We had the paint already so again it was an easy decision). I'm really glad we painted it because it breaks up the white, but is still very subtle.

I LOVE the vanity- I was really wanting something that looked more like furniture, so when this came up on Craigslist- we negotiated right away and were on our way to pick it up. There are some doors that need adjusting if you look closely, but it's serving it's function and looking pretty.
We also replaced the knobs- these are a cheapo brand from Lowes!


Speaking of vanity top- ours is from Lowe's. Nathan's parents used this same top for their bathroom renovation and I knew that this is what we would use the first time I saw it. The clean lines are great and it also doesn't have a backsplash that a lot of the vanity tops have. It just sits right up against the wall which helps the vanity have more of that furniture look. (It's the little things!) I love how the modern top contrasts with the classic style faucet. (Aquasource faucet from Lowes).

Yep- I love this faucet.


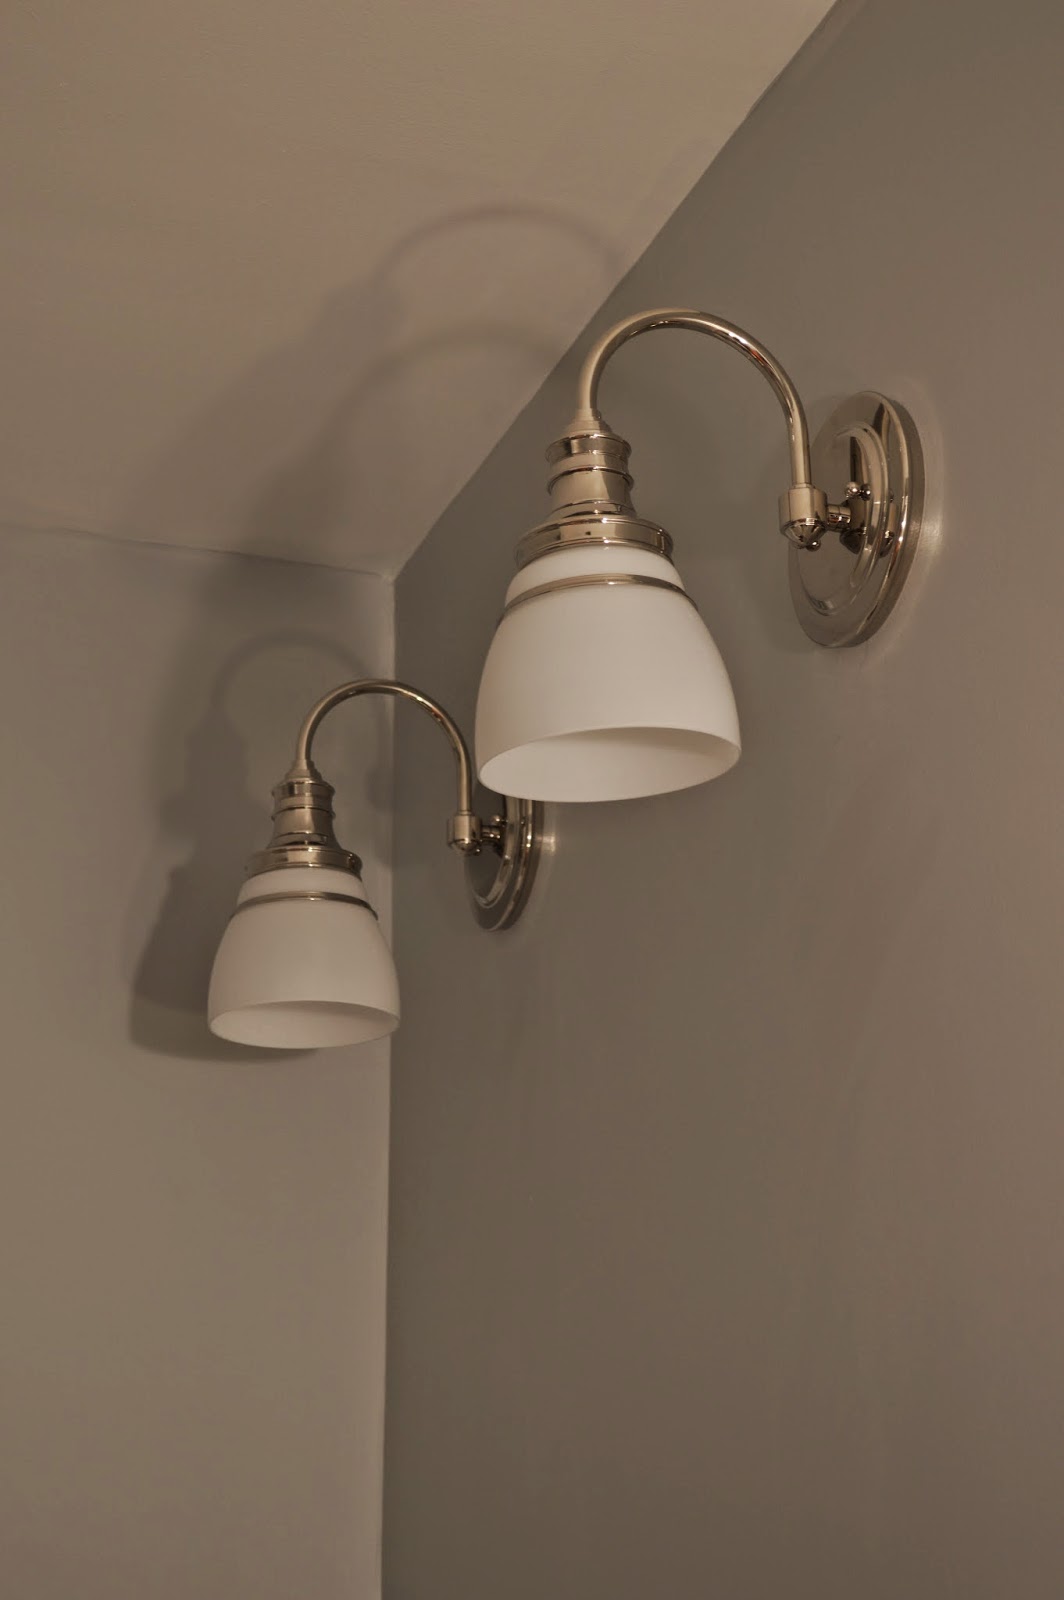
Enough pics of the sink. Home Depot Martha Stewart sconces above the mirror...

Some $4 coat hooks were added to the board and batten. Great accessories to pull in the polished look.


The tub has proven to be the hardest area to take pictures due to no natural light... but it's also my favorite place in the room since I use it so much :)


Why not a few more Before and Afters? So glad we took out that window! I do not miss it... other than when I need some sunlight to take blog pictures of the bathroom... but I don't foresee myself taking much more of these any time soon.


And that is the bathroom! I can't believe it's done. I am still needing some artwork on the walls, but I hate hanging things up for the sake of filling room. I'd rather have a blank wall then something I don't like... so I'm on the search.
Sometimes I walk in and forget that it's not this....
....but it's THIS! And done just in time for baby :) Thank God!!!!
Finishing up the nursery this week- hoping to post one big post soon, but who knows- this baby may come before any post goes up. We shall see!
-Tricia


