Showing posts with label Trim. Show all posts

Tuesday, June 3, 2014

Boarding It Up!

Once the baseboards and storage were in, it was time to take on the lower portion of the walls. As I said here, we painted just the top portion of the wall gray because board and batten was planned for the lower half.
 
We took 4.25" wide boards and nailed them in horizontally. To determine the height of the placement, we just determined what looked right to us… but it also helped to use the light switch location as a guide- we just put it in an inch above it.


After the horizontals were nailed in, we took 3" wide boards and installed them about every 15" inches. Some areas aren't spaced exactly 15" apart because they either needed to be closer or further apart to make it all look visually balanced with its surroundings. A lot of it was "eyed" and it ended up working out great.


After all of the boards were nailed in- I spackled and Nathan caulked. Once the caulk was dry we smacked on a few coats of "Clean White" paint by Valspar and it was done! Board and batten is one of the quickest projects we've done.


The look of the board and batten really made such a big difference in the bathroom. When my friend was visiting last weekend, she said it helped make the room look even taller than what it is and I would have to agree with her.
 
 
This was one of those steps that could have easily been skipped, but I think the minimal time and effort was beyond worth it… probably my 2nd favorite thing about the bathroom! 
 
You may have also noticed the mirror in some of the pictures above. We actually used the same mirror that came from the old bathroom. It was probably the ONLY THING we saved. The mirror was in perfectly good shape. Nathan just used a glass cutter to cut it down to the size we needed.


We also ran electrical up the new vanity wall for some new outlets and lighting. 


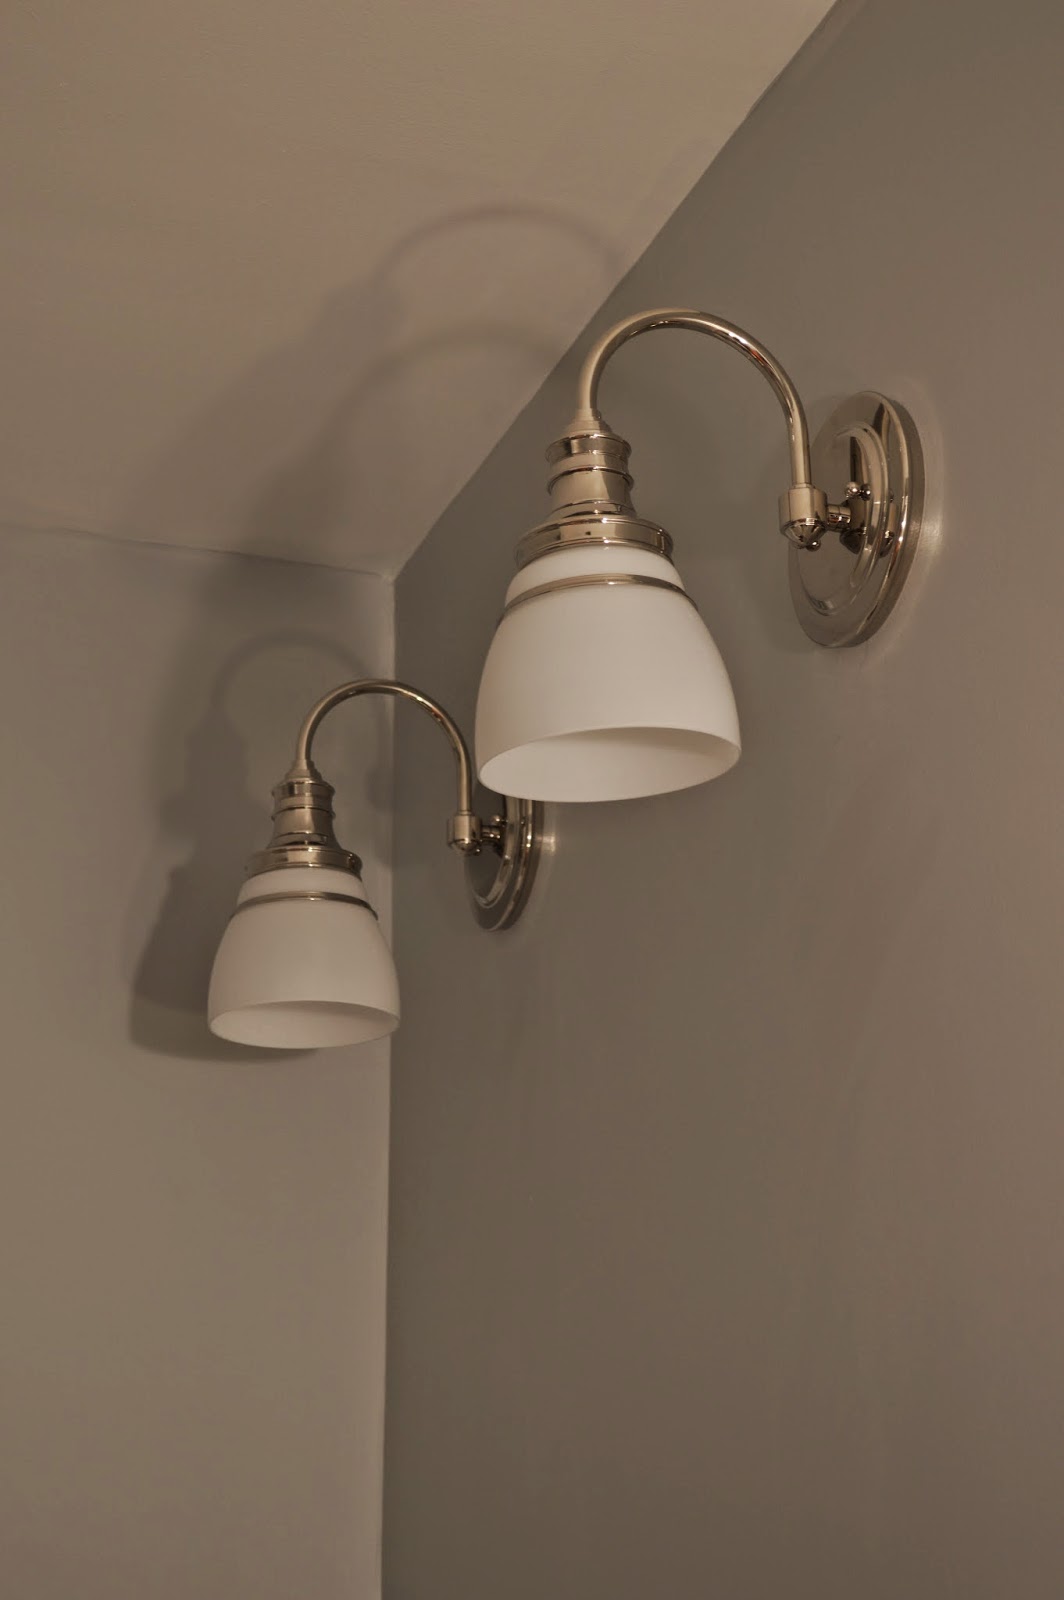
Staying budget friendly, I found these Martha Stewart sconces at Home Depot. I like the look of individual sconces instead of one giant light fixture. Had we had a bit more room, I probably would have put them more on the side of the mirror, but they work well above it.


Nathan then installed some mounting clips for the mirror and hung that bad boy up. Looked good as new- even though it was reused!


We framed out the mirror before the board and batten. I believe the boards were either 4.5" or 5" wide. The below picture shows a happy Nathan seeing the light at the end of the tunnel.


We actually ended up adding a bit more trim to the mirror, but below is the basic frame-out before any spackling, caulking, or painting. 
 
 
Here's a before and after of the new vanity wall. After picture is pretty dark I know- but I had no time to edit these :)   
 
Hope you're liking the progress. End is in sight!
 
-Tricia
 

Wednesday, May 28, 2014

Taking on the Bathroom Walls

Just a few more posts before the big bathroom reveal. I'll be honest, I still haven't actually taken the final pictures… oops! But this bathroom took so many steps that I hate cramming it all in to one post. Sorry mom. And let me tell ya- these posts take up as much as my time as actually doing the projects!
 
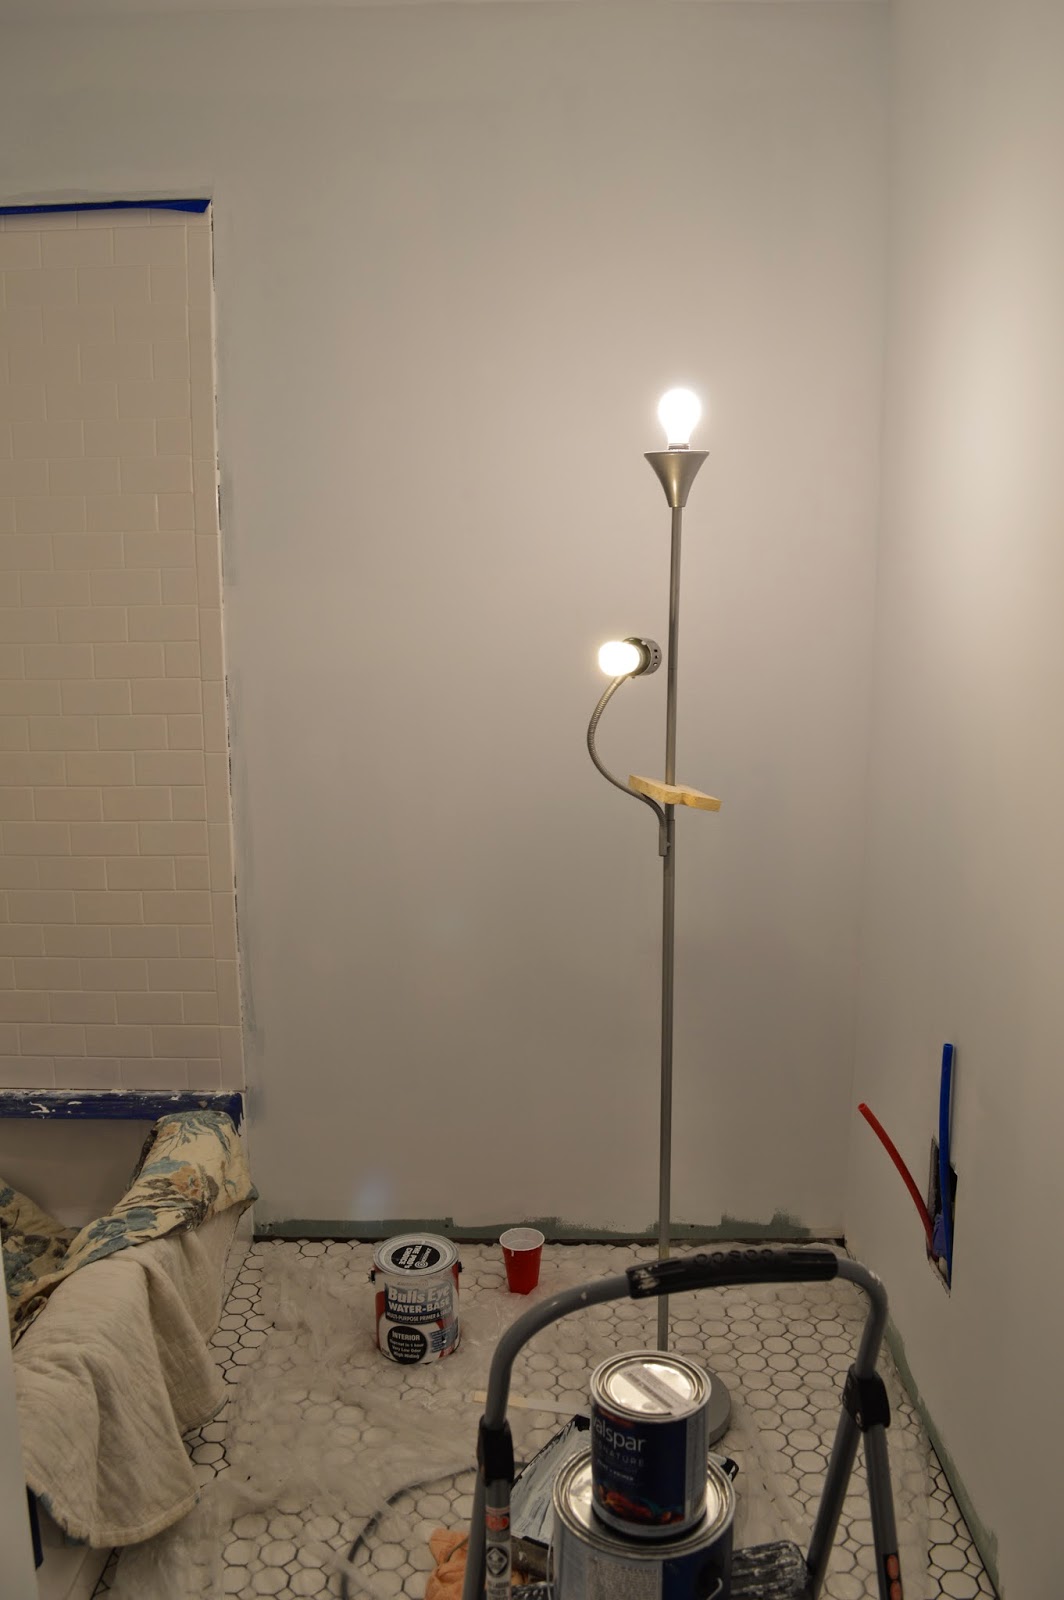
After the tub was tiled and the floor went down, we went forward with priming and painting the walls.  I'd like to consider us painting pros by now. While I would have dreaded this step before it actually ended up being hardly any effort and went quickly.... and again I actually did paint- not just take pictures!


PRIMED!
 
 
Once it was primed and ready to go, out next step was of course PAINT!
 
We still had leftover paint- Valspar "Bay Waves"- from our bedroom project and the nursery doors, so I opted to just use what we had. I loved the gray we used upstairs, and I wanted to keep the bathroom light and fresh so it was a no brainer- and a money saver. We painted the gray from the top of the ceiling to about mid-way down. It's funny how the lighting in the bathroom actually makes the paint look more gray/blue compared to the same gray upstairs, but it works for me!


The rest of the way down was painted white. Why you may ask? Because we decided to do board and batten for the lower portion of the wall…. and it was seriously so easy! Not only that, I think it MAKES the bathroom. You'll see soon…  


Once painted, we installed the baseboards and trim. We just picked up some pre-primed 1" x 6" boards and then some shoe moulding. Nathan cut it all down and then we simply nailed it in, spackled, caulked, and painted- yes more paint.


Next step was the building the storage behind the toilet. This only took Nathan one evening to build. Once dried, I primed and painted.


It may look weird now- but trust me it all comes together! The top two shelves are actually going to have doors on them- while the bottom will be an open shelf. Now I LOVE the look of the open shelving, but I'm needing practical storage for all of my mismatched towels and the baby bath toys that will be taking over my bathroom... so doors are definitely being added!

 
Next post is all about the board and batten... my SECOND favorite part of the bathroom!  
 
 -Tricia